How to Fix a Dent in the Wall
This step by step diy article is about how to fix a dent in drywall. Fixing superficially damaged drywall is an easy weekend project that can be done by any home owner, as you need basic tools and common materials. In addition, you don't have to hire a professional and spend a significant amount of money, when you can get patch the dents and don't even notice a difference between the repaired area and the rest of the wall.
Make sure you assess the damaged area before fixing it with drywall compound. Therefore, if the dent is 1/2" or deeper, you need to cut it out and fit a drywall patch with the same thickness as the wall. Otherwise, if the dent is shallow and the back paper layer hasn't been affected, you can get the job done easily, by applying several coats of compound. Apply a small piece of fiberglass mesh, to reinforce the patch.
Materials
![]() Drywall compound
Drywall compound
![]() Fiberglass mesh
Fiberglass mesh
![]() Fine-grit sandpaper
Fine-grit sandpaper
Tools
![]() Safety gloves, Eye protection
Safety gloves, Eye protection
![]() Utility knife, Putty knife
Utility knife, Putty knife
![]() Small bucket, Sand block
Small bucket, Sand block
Tips
![]() If the dent is more than 1/2" in depth, you need to apply a patch
If the dent is more than 1/2" in depth, you need to apply a patch
![]() Smooth the edges of the damages are, before filling it with compound
Smooth the edges of the damages are, before filling it with compound
Time
![]() One day
One day
How to fix a dent in the wall
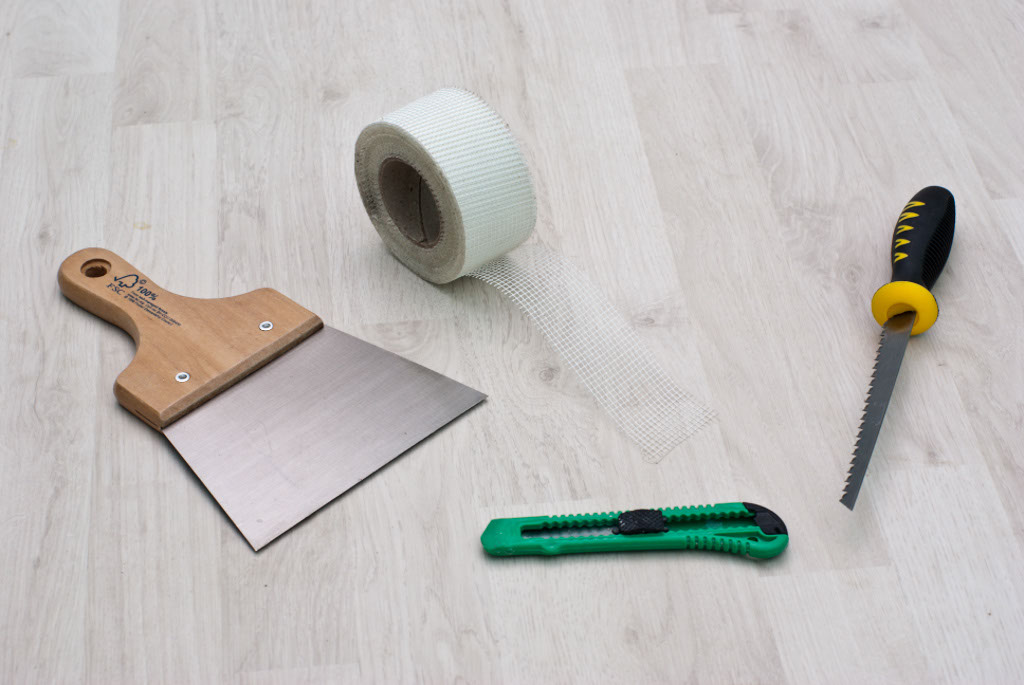
Fixing a dent in drywall is a simple repair that can be done by any home owner. You don't have to spend a significant amount of money on expensive tools, as you can get the job done with common materials.
Useful Tip: Before filling the dents with drywall compound, you need to clean the cavity thoroughly, using an utility knife. Moreover, apply at least two coats of mud, if you want to obtain a professional result.
Fixing dents in the wall
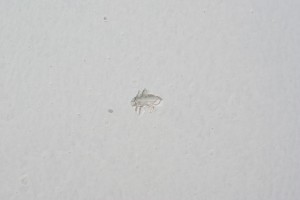
First of all, you need to assess the damaged area. Therefore, check if the dent is shallow or it goes beyond the gypsum, the back paper layer being also affected. In case you deal with a superficial cavity, then you can get the job done easily, as you just need to clean the area and fill it with drywall compound.
On the other hand, if the dent is serious, you could fill it and apply fiberglass mesh over the area, or simply remove it and install a new patch.
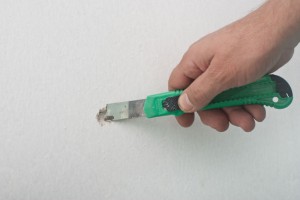
The next step of this diy project is to clean the surface with great care, by using a regular utility knife. Therefore, you have to remove the damaged paper layer from the cavity and to clean the gypsum residues. Work with great care and attention, otherwise you could make the dent even more serious than it already is.
If the dent is 1/2" or less in depth, it is just an easy fix process. Otherwise, you have to install a small path,as to prevent the repaired area from cracking.
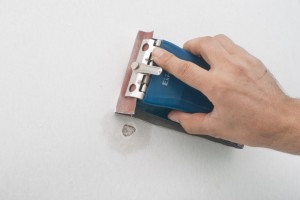
Afterwards, you should prepare the surface adjacent to the dent. Therefore, use a sand-block and 120-grit sandpaper to remove the pain coats around the damaged are. Work with good judgement, otherwise you could affect the paint on a larger surface than actually needed.
By removing the paint around the dent, the compound will bond properly to the paper layer. Use a dry cloth or a vacuum to clean the residues, before filling the cavity with mud.
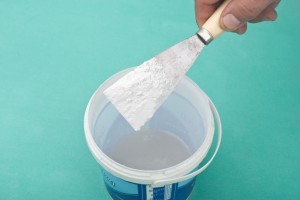
Next, prepare a small quantity of drywall compound in a small bucket. Therefore, pour a small quantity of water in the bucket, before adding the drywall compound powder. Let it soak some water, before mixing it thoroughly. In this manner, the water will activate the molecules in the compound.
Useful Tip: Don't dump the powder all at once, as you might end up with lumpy mud. Use a small putty knife to take the powder from the bag. Place the tools on a newspaper, to protect the flooring.
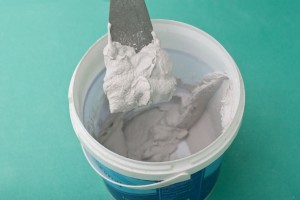
Hold the bucket into place with one hand, while mixing the mud with the putty knife. Mix the mud a little and add more powder. Repeat the process until you get the right consistency. In order to know if the mud has the right consistency, you should check if it falls off the knife. If the drywall compound doesn't slip off the knife and it isn't lumpy, it is ready to use.
Useful Tip: Make sure you apply the compound, before it dries out. Wash the tools with water, after mixing the mud.
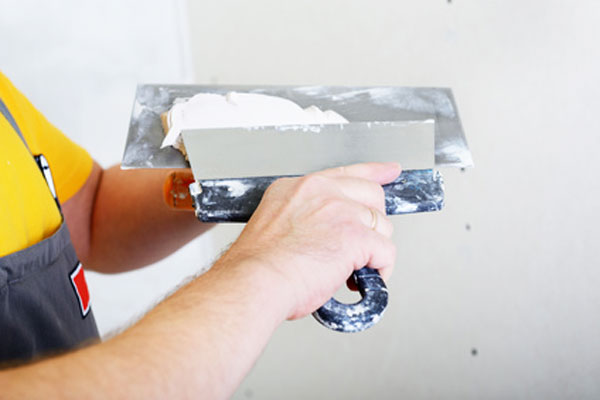
Use a trowel and a putty knife to check if the mud has the right consistency. If you buy joint compound which is already mixed, you might have to thin it a little with water.
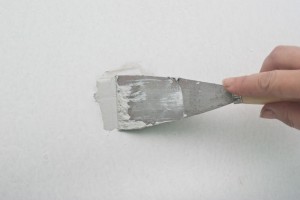
Fill the dent with compound, by using a putty knife. This will be the first coat, therefore it shouldn't be thick at all. Don't spread the compound on a large surface, otherwise you will have to paint the hole area again. Move the putty knife over the patch, to level the surface.
Useful Tip: If the damaged area is small, then you don't have to use a large putty knife, otherwise you will spread the compound on a larger surface than needed.
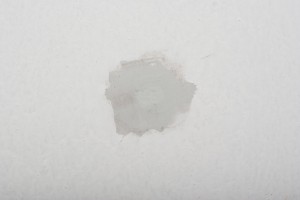
If you use the right instructions, the damaged are should look similar to the one in the image. Let it set up for a couple of minutes before going to the next step.
If the dent is shallow and the gypsum layer is not damaged, you can skip the next step: installing the fiberglass mesh. Nevertheless, in our case the dent was deep, so we decided to install the mesh and to prevent possible cracks that might come up on the long term.
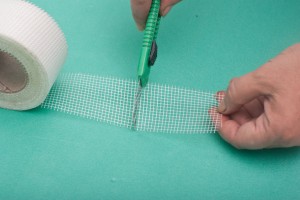
Cut a small piece of fiberglass, in order to cover the dent. Measure the size of the dent, before cutting the paper. Unroll the mesh and cut a the piece 1/2" larger than the hole on all sides, using an utility knife.
Useful Tip: The mesh has adhesive on one side, therefore it will stick to the wall easily. Make sure the mesh is large enough to cover the edges of the patch, otherwise fit several pieces of fiberglass paper over the damaged surface.
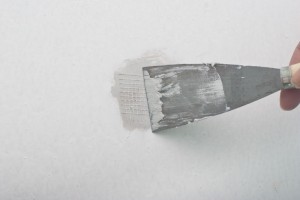
Center the mesh over the dent and press it gently with the putty knife. Make sure you embed the fiberglass mesh tape properly, and try to eliminate the air pockets. Go several times over the patch and smooth it out. Nevertheless, remember that this is the first coat, so it doesn't have to look perfect.
Useful Tip: Let the compound to set up for about 10 minutes, while you should prepare another batch of drywall mud.
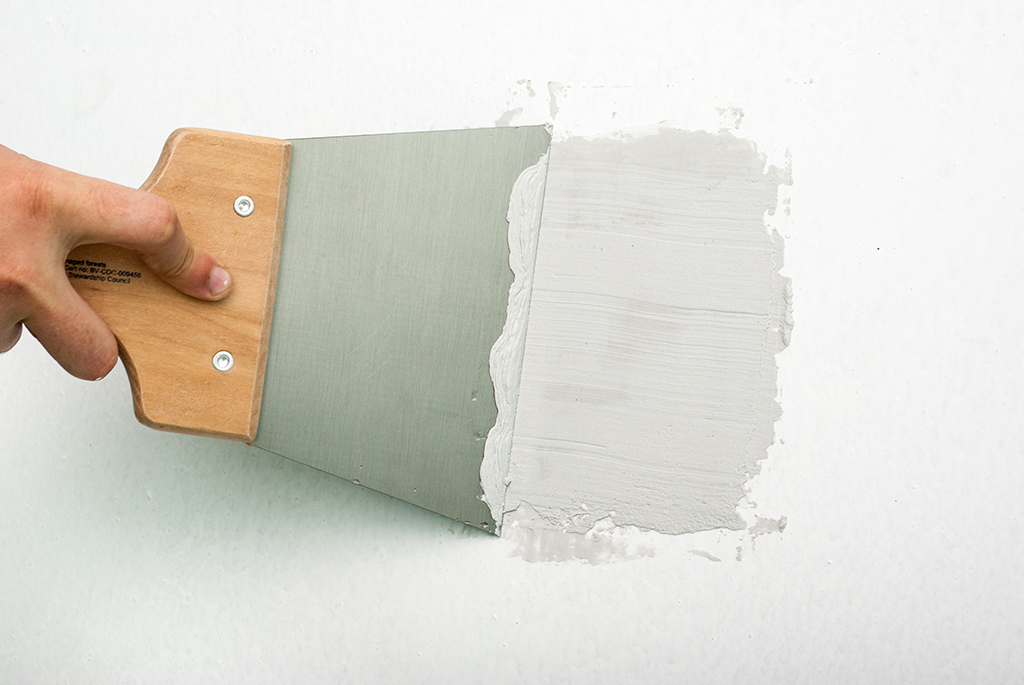
6" wide putty knife
The next step of the project is to spread the second coat of compound. Therefore, apply the compound over the patch, trying to make the transition between the repaired area and the rest of the wall, as smooth as possible. The second coat should be larger than the first one, to smooth the transition between the wall to the patch.
Useful Tip: If the surface is still rough, even after spreading the second coat, you need to apply another layer of mud. Don't forget to let the second coat mud to dry out overnight, before applying another layer.
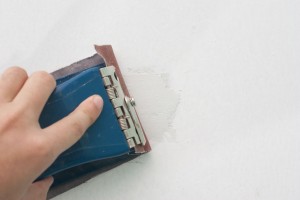
Let the mud to dry out properly, before sanding the surface with medium-grit and fine-grit sandpaper. Use the sand-block to smooth over all the edges and remove any regularities. Use you hand to feel if the surface is perfectly even. If you are not satisfied with the result, clean the residues and apply a thin layer or mud.
Useful Tip: Make sure the surface of the patch is flat and level with the adjacent area. Wear a respiratory mask while sanding the patch.
Thank you for reading our project about how to fix a dent in drywall. Check out the rest of the project if you want to learn how to fix drywall by yourself. LIKE us on FACEBOOK for more updates.
Source: https://howtofixaholeindrywall.com/dent/how-to-fix-a-dent-in-drywall/